Sample information |
|
| Picture |
|
|---|---|
| Location | |
| Collection date | 11/12/2024 |
| Captive / Cultivated? | Wild-caught |
| Group | Walton High School |
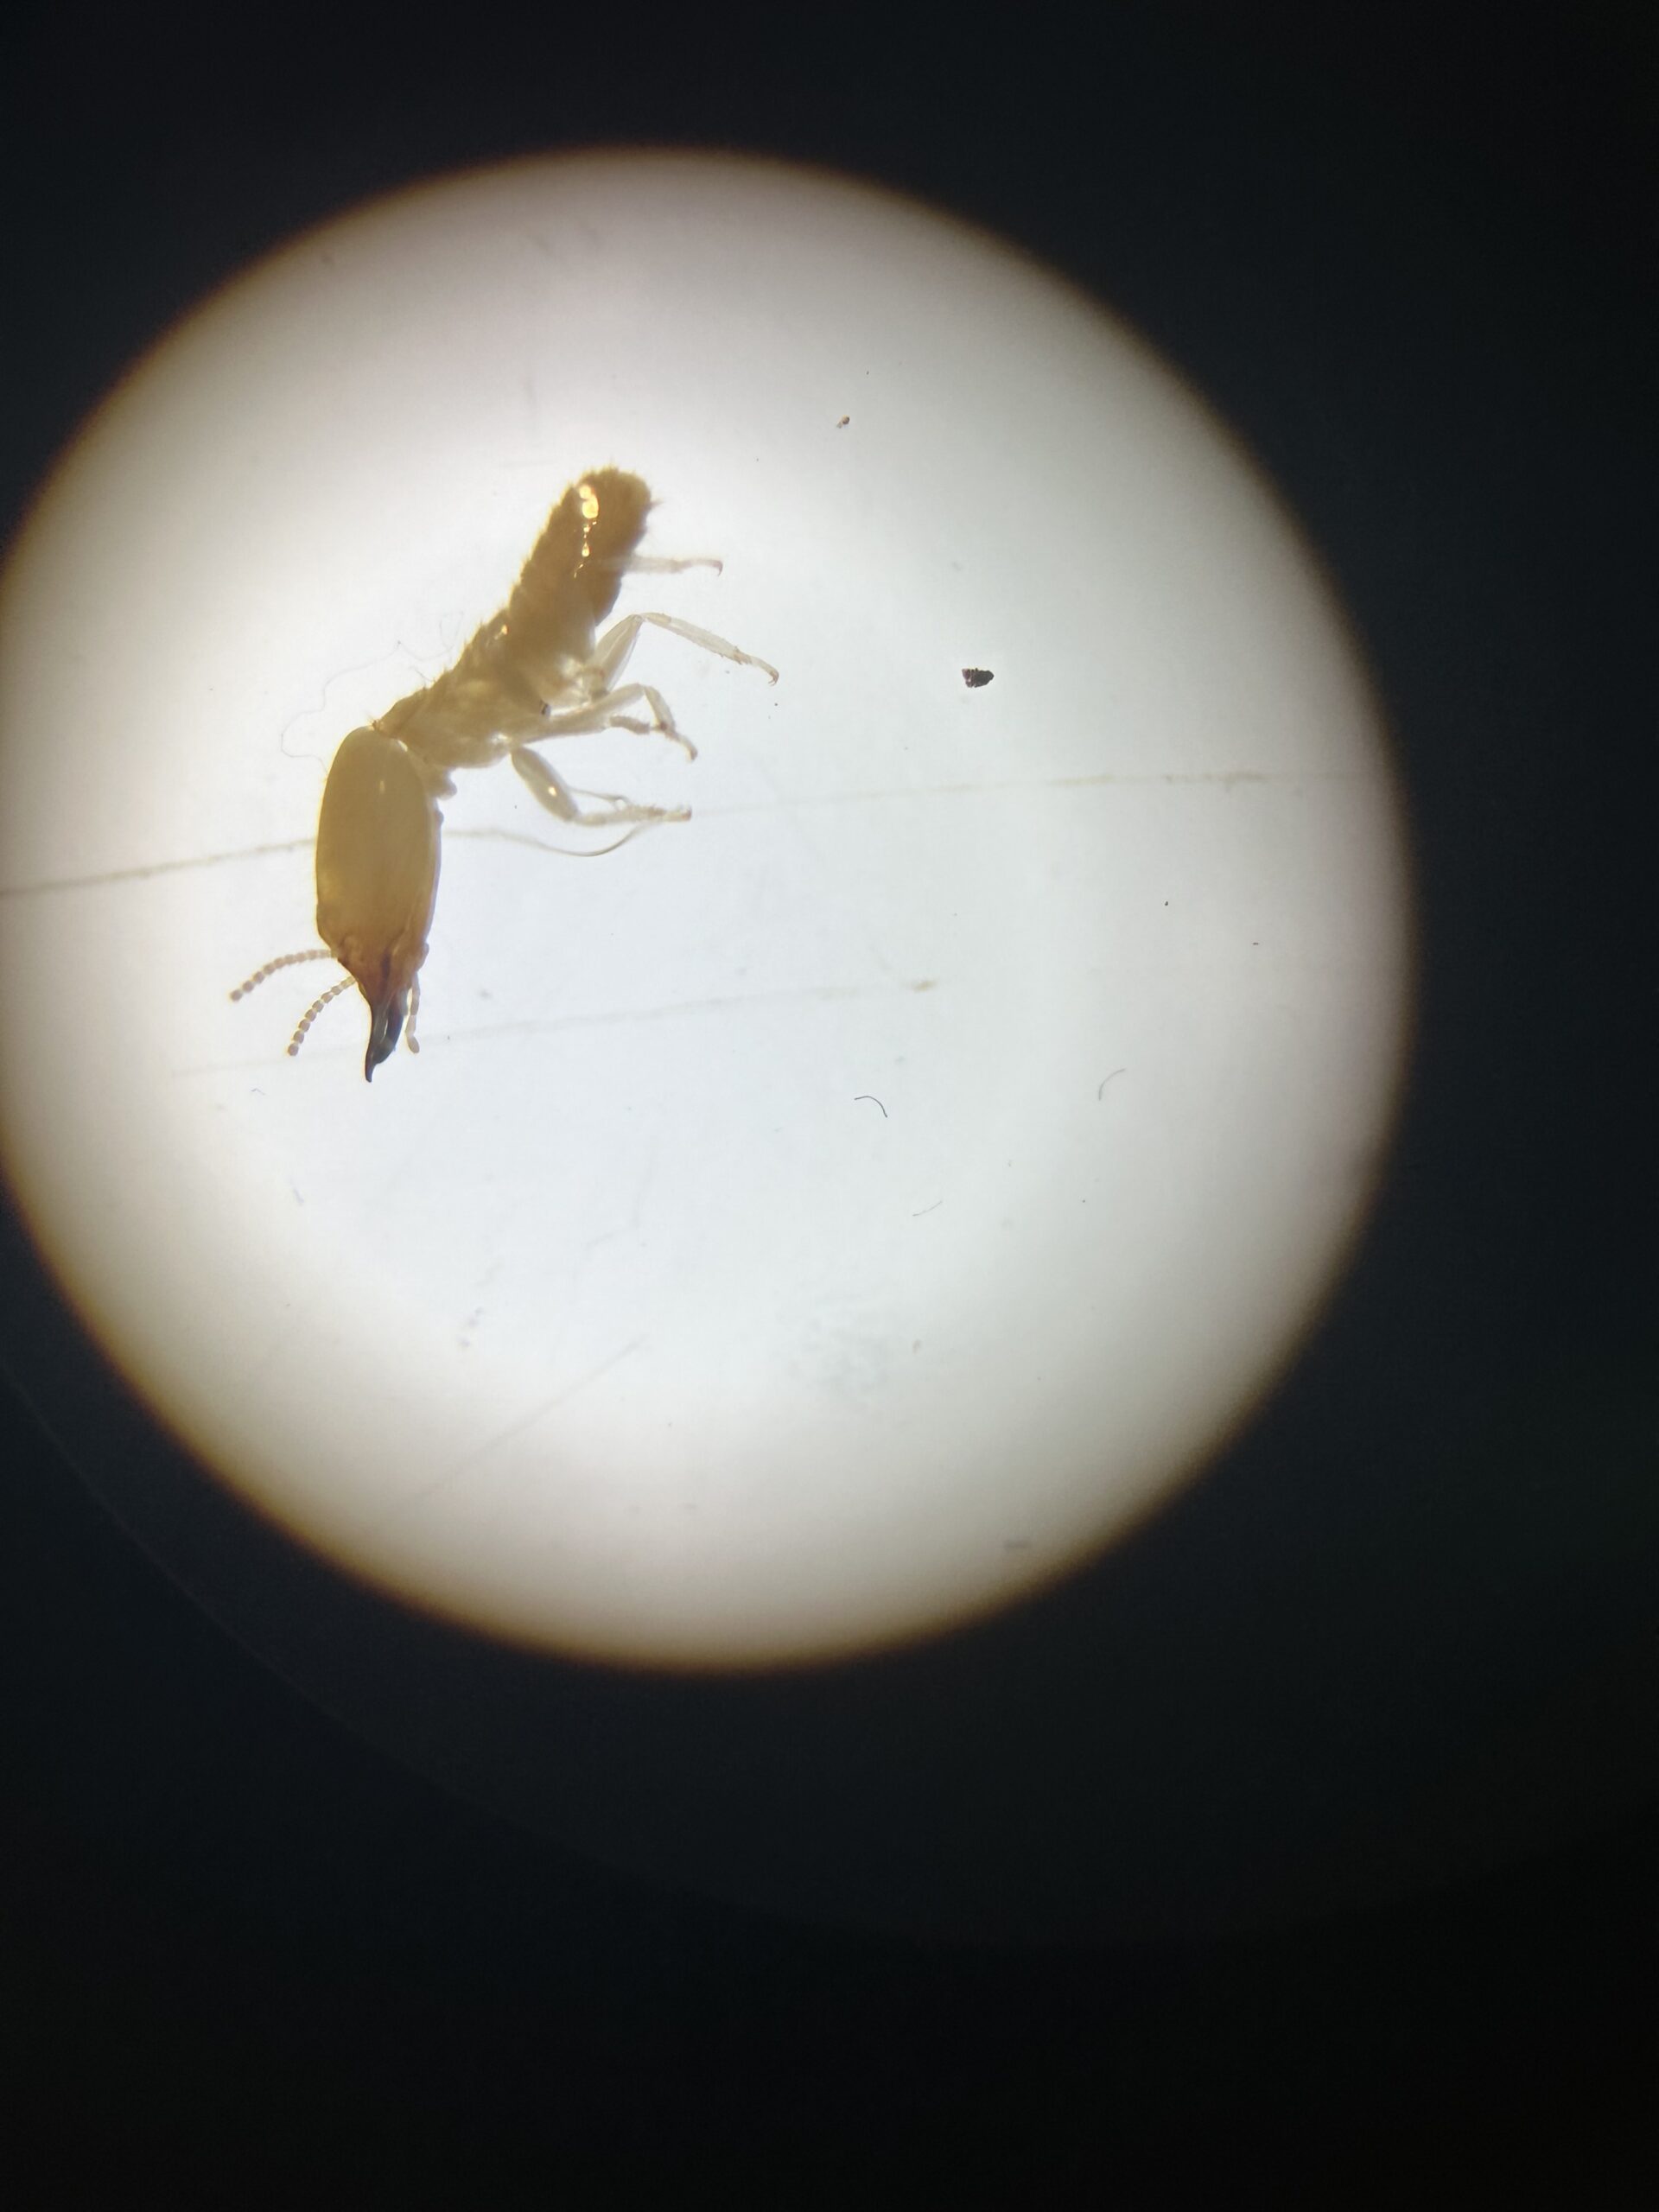
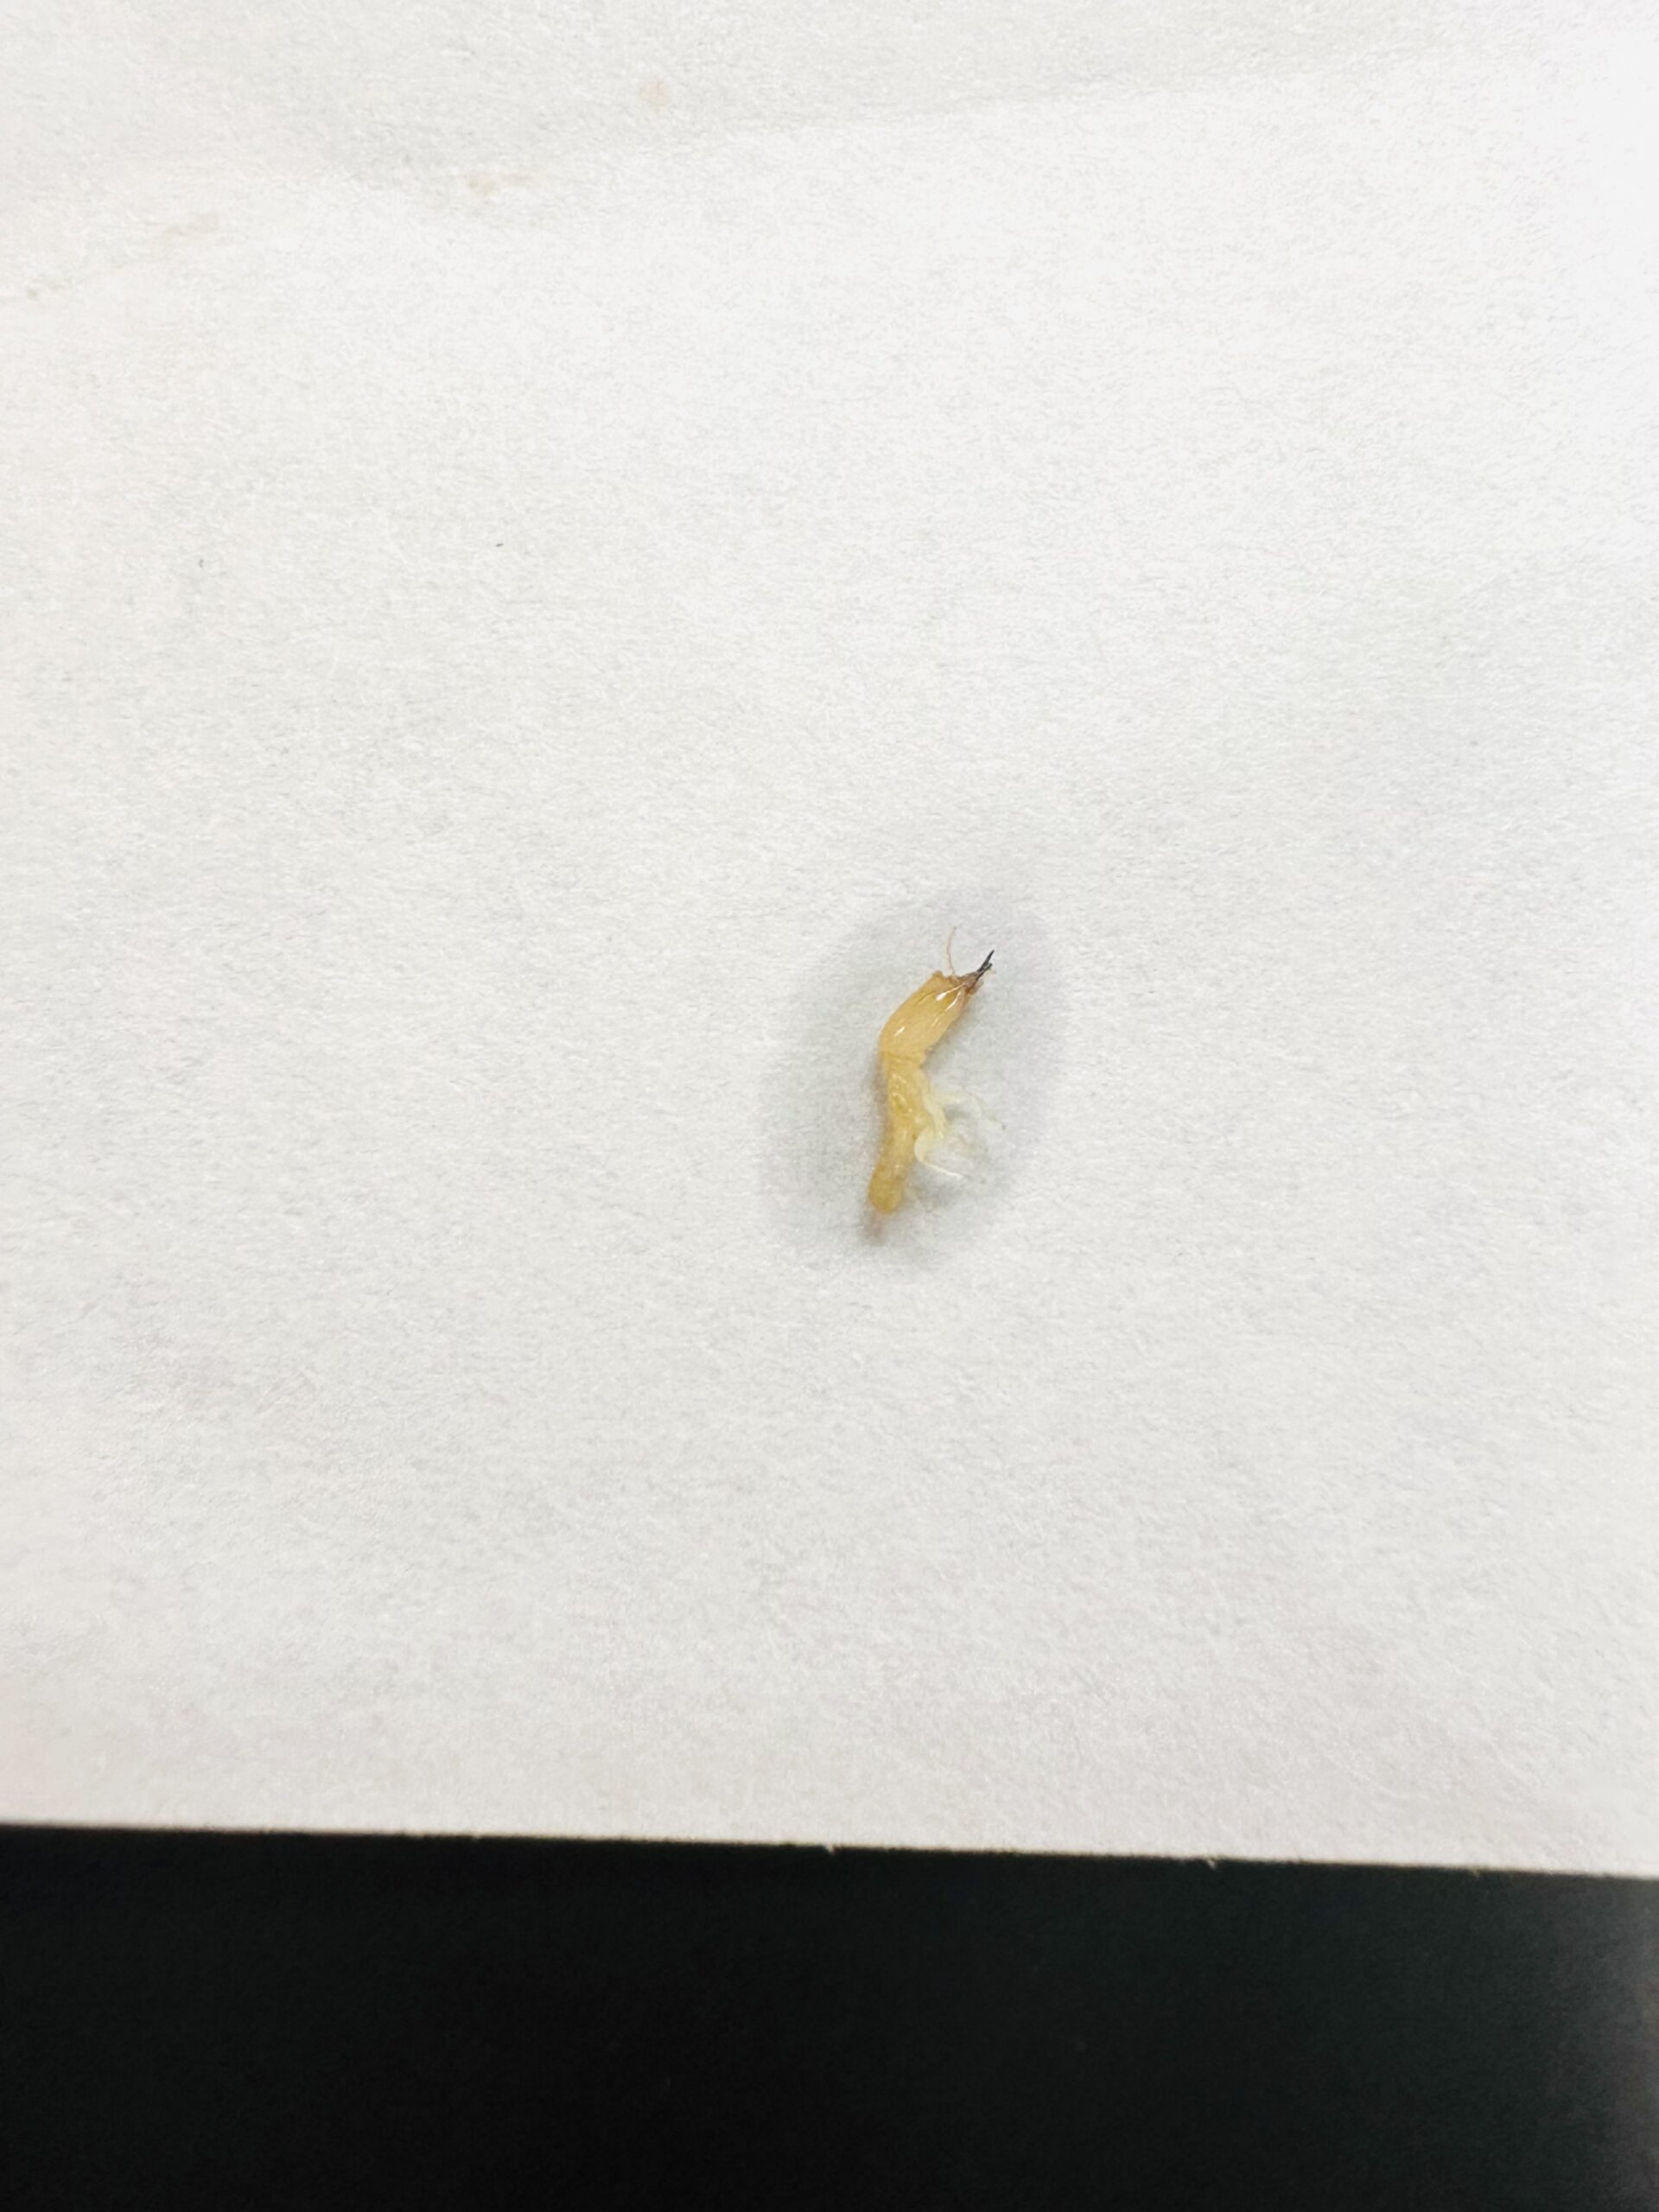
| Observations | They were moving very slow/sluggish but they were surrounded by other insects along with their kind. They were found in the rotten log. For physical characteristics, they have a yellow- cream color, wingless, brown head/mouth, six legs. |
| Putative identification | Arthropoda Insecta Blattodea Rhinotermitidae Reticulitermes Reticulitermes flavipes |
Methods |
|
| Extraction kit | DNeasy (Qiagen) |
| DNA extraction location | Whole arthropod |
| Single or Duplex PCR | Single Reaction |
| Gel electrophoresis system | MiniPCR |
| Buffer | TBE |
| DNA stain | GelGreen |
| Gel images |
|
| Protocol notes | PCR Procedure:
Gel Electrophoresis Protocol:
|
Results |
|
| Wolbachia presence | Unknown |
| Confidence level | Low |
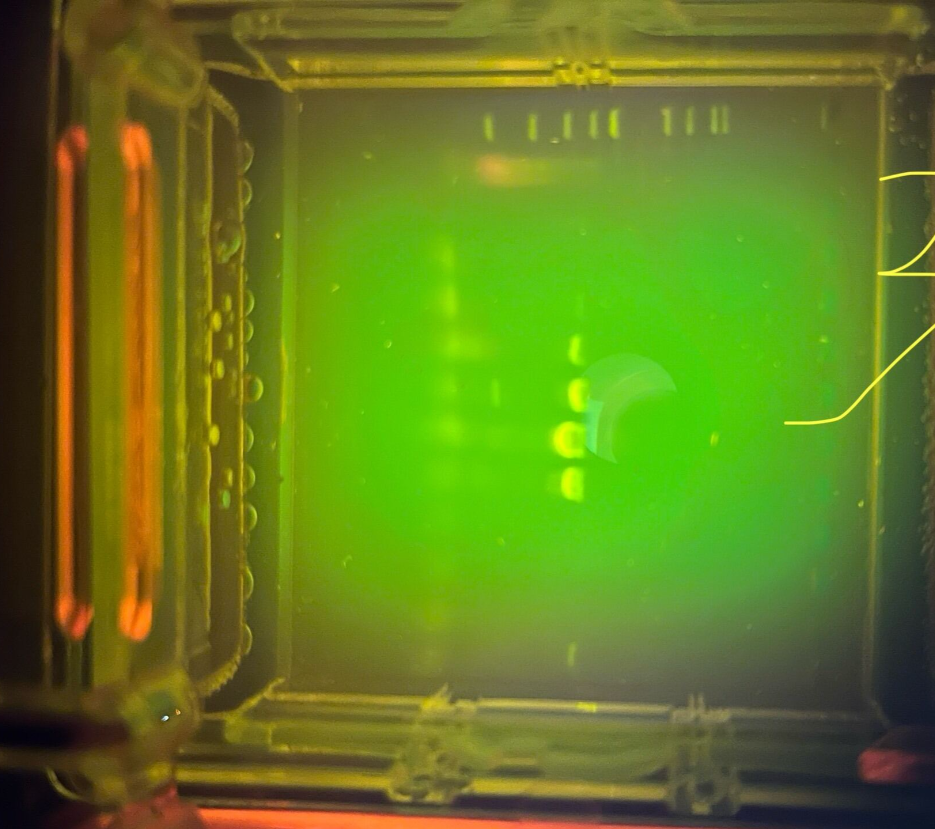
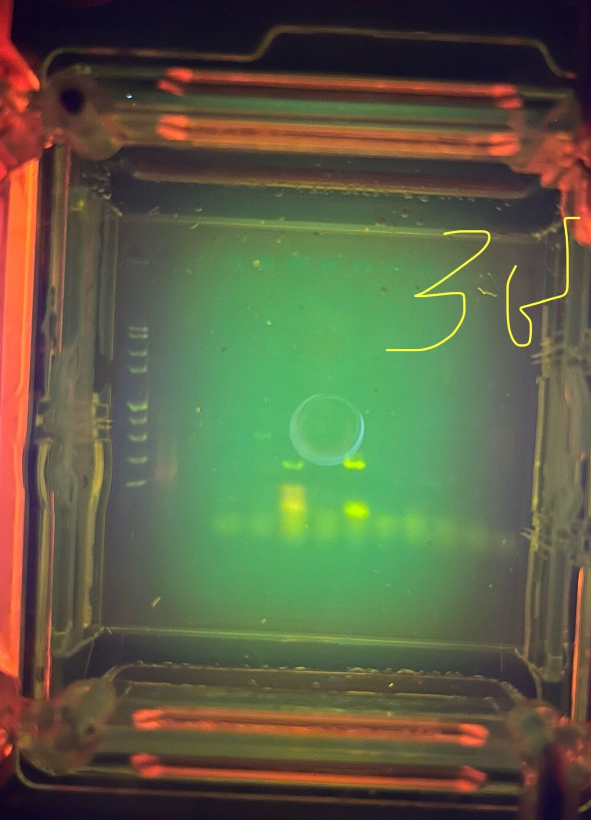
| Explanation of confidence level | I feel not that confident on my results because based on the gel electrophoresis results, my samples did not appear to have arthropod DNA and Wolbachia DNA. Therefore, there may have been an experimental error when conducting the procedures, not making it confident that my arthropods don’t have Wolbachia. However, based on some of the classmates I asked who has same/similar arthropods as me, they all said they didn’t appear to have Wolbachia. |
| Wolbachia 16S sequence |
My gel electrophoresis results did not show any visible bands for either arthropod DNA or Wolbachia DNA, indicating that my samples likely did not contain detectable amounts of either. Because both types of DNA failed to amplify, this suggests a possible experimental error during the procedures—such as issues with DNA extraction, PCR setup, or gel loading—rather than providing reliable evidence that the arthropods I tested are truly free of Wolbachia. As a result, I cannot confidently conclude whether or not my arthropods were infected with Wolbachia based on these results.
BLAST at The Wolbachia Project BLAST at NCBI
|
| Arthropod COI sequence |
My gel electrophoresis results did not show any visible bands for either arthropod DNA or Wolbachia DNA, indicating that my samples likely did not contain a successful arthropod sequence. The absence of arthropod DNA suggests that there may have been experimental errors during the process, which could include improper or incomplete DNA extraction, pipetting mistakes, degradation of the DNA samples, or errors during the PCR setup such as incorrect reagent concentrations or thermal cycling conditions. Because neither the arthropod nor Wolbachia DNA was amplified, I cannot confidently determine whether the arthropods I tested were truly free of Wolbachia, and the results are likely due to a procedural error rather than a biological absence.
BLAST at The Wolbachia Project BLAST at NCBI
|
| Summary | |
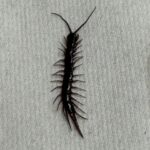 Centipede – MJAR
 Fruitfly – MJAR
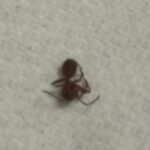 Ant – MJAR
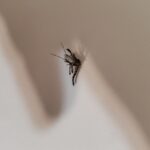 Mosquito – MJAR
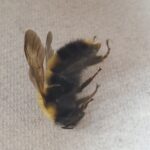 Bumblebee – MJAR